Huawei / Indoor power systems

ETP48100-B1 Equipment information & support

The ETP48100-B1 is a high-efficiency power system designed for telecommunication facilities and industrial infrastructure.

Equipment information

Brand
Huawei
Equipment model
ETP48100-B1
Equipment type
Indoor power systems
Controller / software version
Confirm against the installed equipment
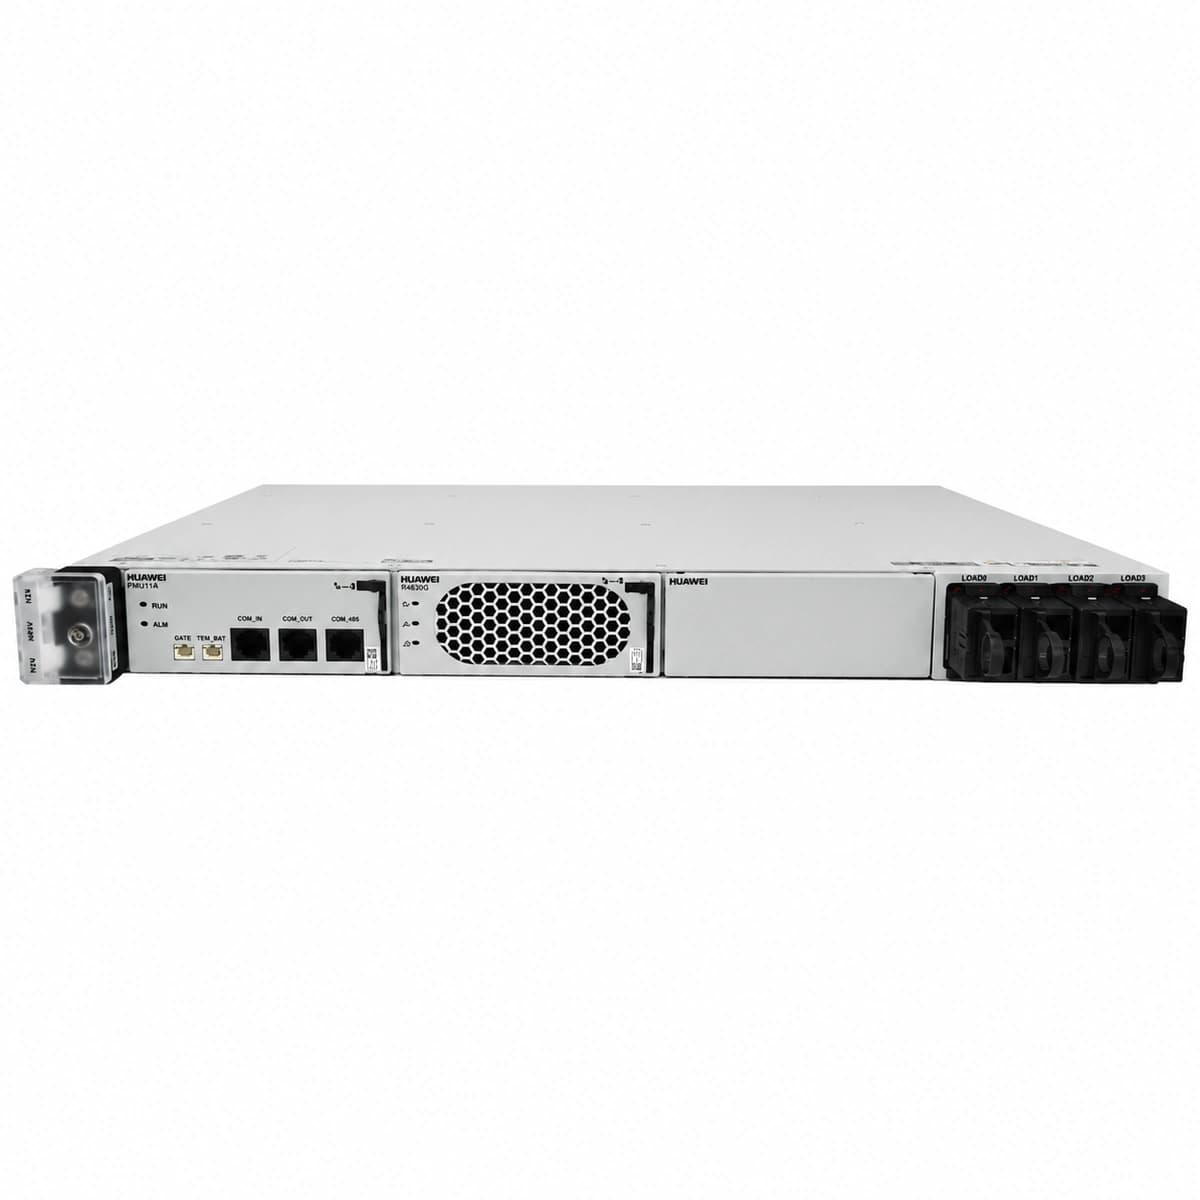
View full product specifications
ETP48100-B1 Official Product View 2

Information below comes from the current product catalogue. Confirm the controller, software version and configuration of the installed equipment separately.

System Output Capacity
100A (-48VDC)
Physical Form Factor
1U rack-mounted (19-inch standard mounting)
Rectifier Module Slots
2 Slots (Supports R4850G2 / R4850N1)
Controller Unit
SMU02C (supports LCD display and network SNMP)
AC Input Type
220VAC single-phase / 110VAC dual live-wire
DC Distribution Branches
Multiple fused/miniature circuit-breaker branches (supports priority/non-priority disconnection)

Alarms & troubleshooting

AC_FAIL (AC Mains Failure/Abnormal)
Rectifier Run LED (Green) OFF, Alarm LED (Red) Steady ON; Controller ALM LED (Red) Steady ON
AC mains blackout, input circuit breaker tripped, or AC input voltage dropped below 85 VAC operating threshold
1. Use a multimeter to measure input phase-to-neutral voltage at the AC distribution block. 2. Inspect the AC input circuit breaker (MCB); verify it is closed and reset if tripped after clearing short circuits. 3. Verify that rectifier modules are firmly seated into backplane slots and locking latches engaged. 4. If AC grid is nominal and breaker is closed, replace faulty rectifier module (R4850G/R4830G).
REC_HVSD (Rectifier DC Output Overvoltage Hardware Shutdown)
Faulty Rectifier Alarm LED (Red) Steady ON, Run LED (Green) OFF; Controller reports Rectifier Failure alarm
Internal voltage control loop feedback failure, uncontrolled PWM drive, or DC bus voltage exceeding hardware threshold (58.5-60 VDC)
1. Remove the faulted rectifier, wait 3 minutes for internal DC link capacitors to discharge, then reinsert firmly. 2. Verify float and equalize voltage settings on the monitoring unit (SMU02B/C) (typical nominal is -53.5V to -56.4V). 3. If the rectifier immediately locks out with red LED again upon reinsertion, replace the damaged module. 4. Check DC distribution bus to confirm no external unregulated DC source or generator is back-feeding overvoltage.
BATT_LOW_VOLT / LLVD (Battery Undervoltage & Load Disconnect)
Controller ALM LED (Red) Steady ON, LCD displays LLVD contactor disconnected, audible buzzer active
Prolonged mains outage; battery discharge reached low-voltage disconnect threshold (typically -43.2V to -45VDC), triggering LLVD contactor trip to protect critical equipment
1. Deploy an emergency mobile diesel generator immediately or restore upstream AC mains feed. 2. Once AC power is restored, verify rectifiers enter current-limit boost charging (typically 0.1C10 to 0.15C10). 3. Verify that the LLVD contactor automatically reconnects once bus voltage rises above reconnect threshold (approx. -48VDC to -50VDC). 4. If AC is normal but false LLVD occurs, calibrate voltage sensing terminals on the SMU against a digital multimeter.
REC_FAN_FAIL (Rectifier Fan Fault/Stall)
Target Rectifier Alarm LED (Red) Steady ON or Blinking; Controller LCD reports Rectifier Fan Alarm
Rectifier air intake/exhaust blocked by severe dust buildup, fan bearing locked, or internal fan speed feedback tachometer line broken
1. Inspect front grille and air vents of the rectifier; clear obstructions and blow out dust using dry compressed air. 2. Visually check if the fan impeller spins freely; if stopped or producing grinding noise, unseat module and verify no foreign body is jammed inside. 3. Reseat module; if the fan fails to spin up during boot self-test, replace the fan assembly or entire rectifier. 4. Verify ambient telecom cabinet temperature is within operational limits (-40°C to +75°C, derating above 55°C).
CAN_COMM_FAIL (Rectifier CAN Bus Communication Interruption)
Rectifier Run LED (Green) Blinking, Controller ALM LED (Yellow/Amber) Steady ON, LCD displays module offline
Gold-finger connector pin oxidation on rectifier backplane, loose internal CAN ribbon cable, missing termination resistor, or faulty SMU communication circuit
1. Unseat the affected rectifier module, inspect gold-finger backplane pins for physical damage or debris, clean contacts, and reseat firmly. 2. Ensure the site monitoring unit (SMU02B/C) is fully latched and securely docked into its subrack slot. 3. Access the SMU controller menu to verify rectifier slot addressing and ensure no address conflicts exist. 4. Swap the rectifier into an adjacent slot: if the fault follows the module, replace the rectifier; if the fault remains on the slot, replace the backplane or SMU.

Access Complete Maintenance & Full Alarm Troubleshooting Manual

This page lists high-frequency critical alarm codes commonly encountered in field maintenance. Comprehensive manufacturer troubleshooting matrices, board-level repair guides, detailed electrical schematics, and firmware commissioning manuals are delivered alongside equipment upon formal project procurement, accompanied by dedicated FAE technical support.

Share on-site information

  1. 01

    Identify the exact model

    Record the nameplate, system model and controller or module model.

  2. 02

    Keep the alarm details

    Record the full alarm text, indicator colour, timing and whether it persists.

  3. 03

    Describe recent changes

    Note recent replacements, software updates or configuration changes.

Record information visible in the existing interface. Electrical measurements, disassembly and replacement should follow the applicable manufacturer's manual and be performed by qualified personnel.

Your model and these details will be added to the enquiry form for you to review before sending.

Related technical articles

Browse the technical guides or send a question about this model.

View all articles

Need a replacement module or supporting equipment?

Confirm the full model, system configuration and compatibility requirements before enquiring about suitable products.

Ask about suitable products

Have a model and an on-site issue?

Share the exact model, alarm text and observed symptoms to help identify relevant information and compatibility requirements.

Request technical support