Delta / DC power systems

Delta DPR 48/30-D Equipment information & support

Delta DPR 48/30-D is an industrial-grade switch-mode rectifier module engineered with high-frequency resonant soft-switching topology and hot-swap modularity, delivering 1740W total output (nominal 53.5V DC / 30A) across an ultra-wide 90V–300V AC input envelope for carrier-class telecom installations.

Equipment information

Brand
Delta
Equipment model
Delta DPR 48/30-D
Equipment type
DC power systems
Controller / software version
Confirm against the installed equipment
View full product specifications
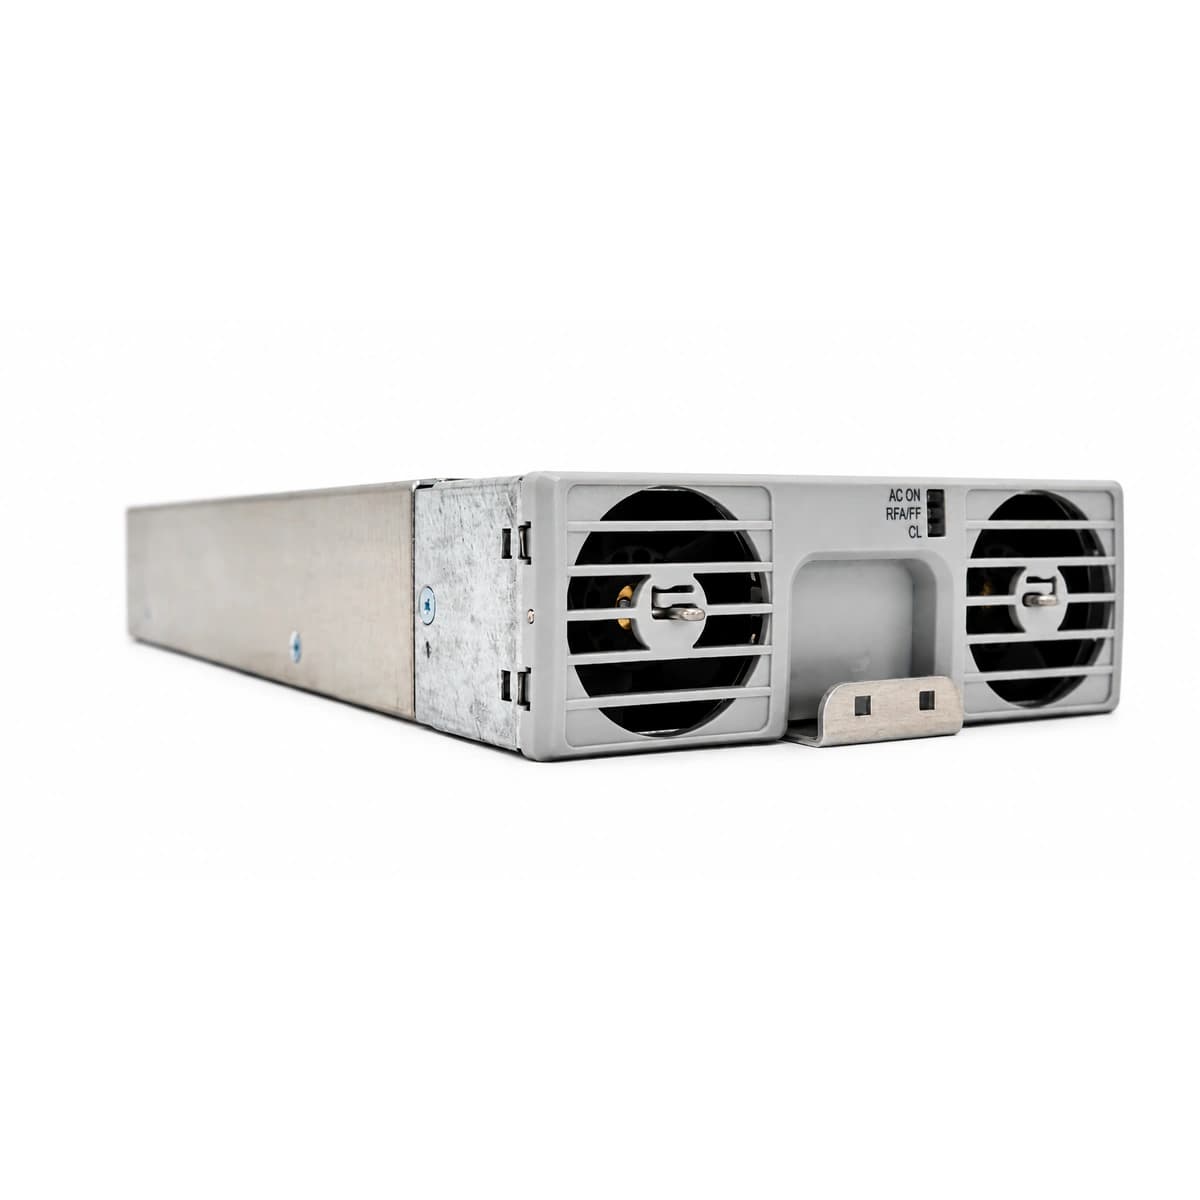
Delta DPR 48/30-D Telecom Rectifier Module 48V 30A 1740W Official Studio Photo 2

Information below comes from the current product catalogue. Confirm the controller, software version and configuration of the installed equipment separately.

Rated Output Power
1740W (30A @ 58V DC)
Nominal DC Output Voltage
42V DC ~ 58V DC (Nominal 53.5V DC)
Rated Output Current
30A Continuous Output
AC Input Voltage Range
90V AC ~ 300V AC
Power Conversion Efficiency
≥ 92%
Cooling Method
Built-in Temperature-Controlled Smart Fan

Alarms & troubleshooting

AC_FAIL (AC Input Failure / Out of Range)
Green LED OFF, Amber blinking or Red solid
Mains blackout, AC voltage out of operational limits (<80Vac or >300Vac), tripped branch breaker, or loose input connector.
1. Measure phase-to-neutral voltage at the rectifier backplane AC socket using a True-RMS DMM (verify 88-300Vac range). 2. Inspect and reset the dedicated rectifier branch circuit breaker (MCB) on the AC distribution panel. 3. Reseat the rectifier module firmly into the shelf. If the issue follows the slot, inspect shelf backplane wiring; if it follows the module, replace the DPR 48/30-D.
DC_OVP_LOCK (DC Output Overvoltage Lockout)
Red LED solid ON, Green LED OFF
Internal PWM secondary feedback failure, active load sharing failure causing voltage drift, or bus overvoltage latch (>59.5Vdc) to protect telecom loads.
1. Power cycle the module by turning off its AC breaker for at least 60 seconds to discharge DC bus caps and reset the hardware latch. 2. Reapply AC power; if the module immediately trips back into OVP lock, remove it from service due to internal converter fault. 3. Check system controller (PSC 3 / Orion) parameters to ensure the OVP threshold is properly configured above the boost charge level (typically 56.4-58.0Vdc).
OTP_DERATE (Over-Temperature / Thermal Shutdown)
Yellow LED solid ON during derating; Red LED solid ON during shutdown
Ambient temperature exceeding operational limit (>55°C), clogged cabinet dust filters, restricted airflow passages, or failing internal heatsink NTC sensor.
1. Inspect and vacuum cabinet intake/exhaust grilles and air filters to ensure unobstructed front-to-rear laminar airflow. 2. Verify site HVAC/cooling operation to confirm room temperature is restored to standard 20-30°C range. 3. Allow module to cool; verify automatic recovery. If over-temperature shutdown persists under normal ambient conditions and running fan, replace the DPR 48/30-D.
FAN_FAIL (Cooling Fan Stall / Tachometer Fault)
Red LED solid ON or alternating Red/Amber flashing
Foreign debris mechanically jamming the impeller, fan harness disconnected, bearing wear-out, or missing tachometer pulse feedback (<1000 RPM).
1. Visually inspect the front fan grill for cable ties, dust cakes, or foreign objects obstructing the impeller. 2. Extract module and verify that the internal fan power and tachometer harness is securely clipped into the internal PCB. 3. Spin the fan gently by hand to detect bearing seizure. If the rotor does not spin or fails to spin up on boot, replace the fan assembly or DPR 48/30-D module.
CAN_COMM_FAIL (CAN Bus Communication Lost)
Yellow LED flashing slowly (0.5Hz), Green LED solid ON
Poor pin contact on backplane CAN_H/CAN_L bus, system controller (PSC 3 / Orion) offline or frozen, missing 120-ohm CAN termination, or faulty transceiver.
1. Verify supervisory controller (PSC 3 / Orion) operational status; reboot controller if UI/OS is frozen. 2. Unlock and reseat the rectifier module to clean oxidation on backplane gold fingers and multi-pin connector. 3. Measure CAN bus resistance between CAN_H and CAN_L with system de-energized (nominal ~60 ohms with two 120-ohm termination resistors in parallel).

Access Complete Maintenance & Full Alarm Troubleshooting Manual

This page lists high-frequency critical alarm codes commonly encountered in field maintenance. Comprehensive manufacturer troubleshooting matrices, board-level repair guides, detailed electrical schematics, and firmware commissioning manuals are delivered alongside equipment upon formal project procurement, accompanied by dedicated FAE technical support.

Share on-site information

  1. 01

    Identify the exact model

    Record the nameplate, system model and controller or module model.

  2. 02

    Keep the alarm details

    Record the full alarm text, indicator colour, timing and whether it persists.

  3. 03

    Describe recent changes

    Note recent replacements, software updates or configuration changes.

Record information visible in the existing interface. Electrical measurements, disassembly and replacement should follow the applicable manufacturer's manual and be performed by qualified personnel.

Your model and these details will be added to the enquiry form for you to review before sending.

Related technical articles

Browse the technical guides or send a question about this model.

View all articles

Need a replacement module or supporting equipment?

Confirm the full model, system configuration and compatibility requirements before enquiring about suitable products.

Ask about suitable products

Have a model and an on-site issue?

Share the exact model, alarm text and observed symptoms to help identify relevant information and compatibility requirements.

Request technical support